|
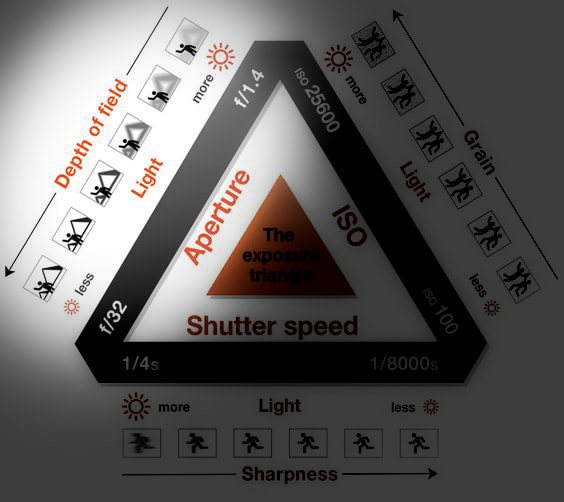
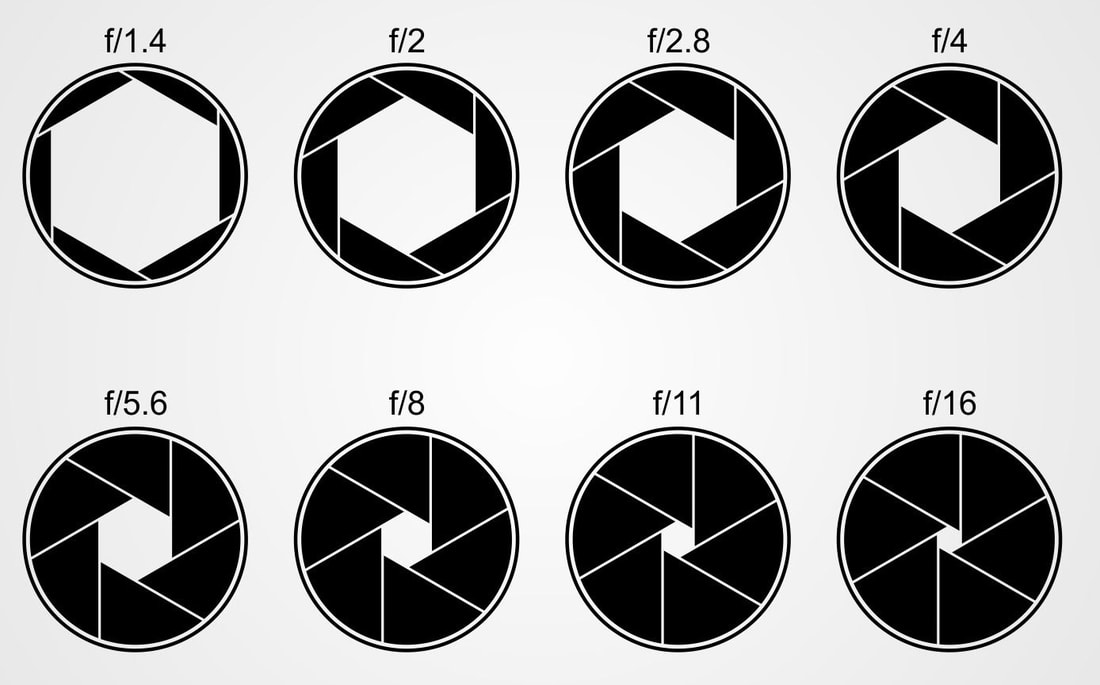
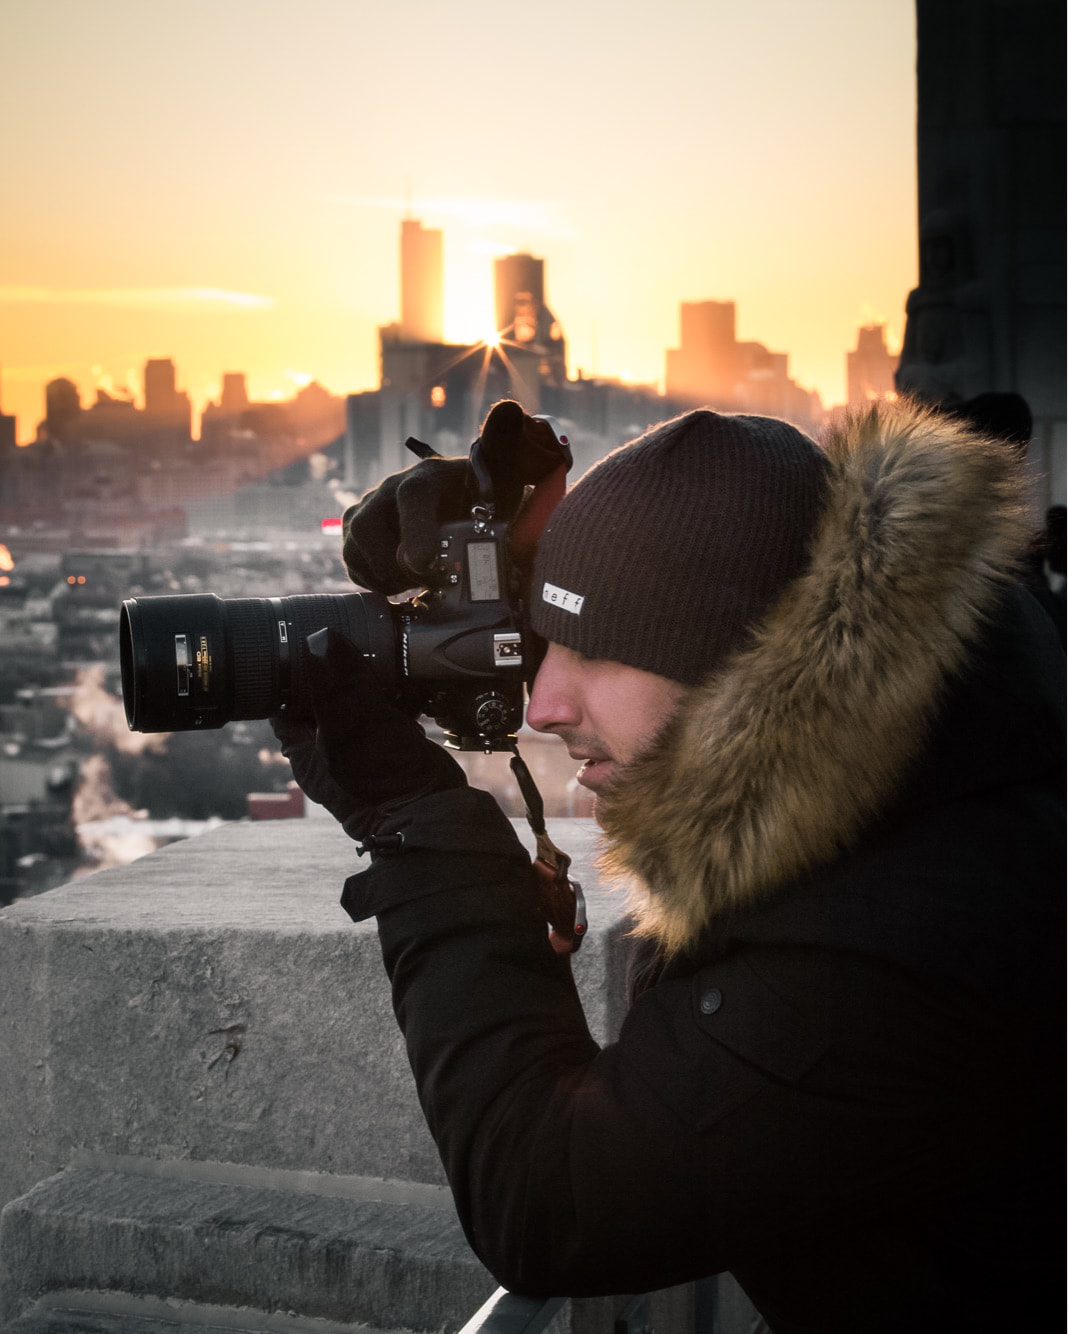
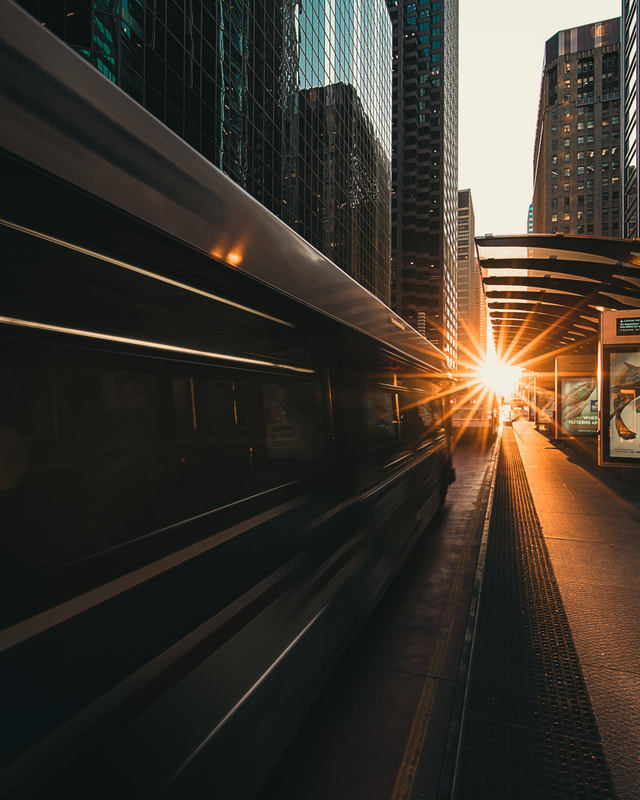
Read time: 12 minutes The first time I picked up a DSLR I remember being intimidated and overwhelmed by all of the dials, buttons, and symbols glaring back at me. Shutter speed, aperture, ISO? What is AV and Bulb mode? Don’t even set the dial to M because then things get really messy. Why the hell is my image so bright? Why is it so dark that I can’t pick out the detail? Damn, that would have been a good shot if it weren’t so blurry! ...Sound familiar? One of the things that I love about working with cameras is that they are very technical and precise tools – like a cipher. Most people enjoy the simplicity and convenience of taking photos with their phones and point-and-shoots whereas I’m intensely drawn to the challenge of figuring out how to capture a scene and diving into the process of dialing in the right camera settings in order to properly expose an image and really make it pop. I totally understand how overwhelming it all can be when you are starting out - my plan is to help you leapfrog some of the headaches I encountered and mistakes I made (which frankly still occur) along the way so that you can spend less time worrying about how to navigate your camera and more time creating memorable images (and get you out of shooting in Auto mode). I want to start by covering the three main pillars of imaging – aperture, shutter speed, and ISO. In this article, we’re going to focus primarily on aperture or “f-stop” in photography speak, which is the photography fundamental that really adds some additional beauty and depth to a photo if you can master it creatively. Aperture and Exposure: The aperture value is always displayed in tandem with the focal length of a lens in its widest format - well get to what the "widest" means later in the article (for example: 50mm f/1.4, 16-35 f/4.0, 70-200 f/2.8, etc.). However, despite being displayed on the lens itself, the f/number is still commonly misunderstood by photographers that are just starting out. There is a storied history behind this crucial function of your camera and it’s a good thing I recently went to the Milwaukee Art Museum to check out the photography exhibit, so let’s start with the history of the aperture dating all the way back to the early 1800's. ...Just kidding. Aperture is defined basically as an opening in the lens that light passes through. This is the function that lets your camera’s sensor catch a glimpse of the scene you have composed. Most modern digital cameras and lenses feature a variable bladed aperture in which the number of blades that make up the mechanism can vary widely between different lenses. Depending on your “f/number” setting, the blades constrict (f/number increases) or contract (f/number decreases) allowing you to control how much light is let in when you release the shutter to take an image. To expand upon how to think about this concept; the smaller the f/number is, the wider the opening, the larger the f/number is, the smaller the opening – I know, why is it reversed??? For example, the Sigma 50mm Art lens I use has a maximum aperture of f/1.4 with a minimum aperture of f/16. This means that this lens at f/1.4 is able to take in more light at a constant shutter speed than it is set to the maximum aperture of f/16.0 at the same shutter speed. What this means is that at f/1.4 the sensor is exposed to a wider opening than it is at any other f/number. A lens with a lower base aperture setting is defined as a “faster” lens since, for example, the 50mm f/1.4 opening can take in more light at once, giving you more room to increase your shutter speed to “slow down light” and compensate for the increased amount of light coming through the opening, or allowing you to take sharper low light images without increasing your sensor ISO or lowering your shutter speed to allow more time to let more light through the opening – don’t worry if this is a bit confusing, this is the workflow that I hope you will develop in your head while taking photos. For now, the only concept you should worry about understanding is the bigger the hole, the smaller the f/number, the smaller the hole, the bigger the f/number. A handy tip to keep in mind is that each f/stop either doubles or halves the size of the opening which is handy for approximating what shutter speed and ISO you would need to use for each stop-up or down in aperture - well explore these concepts in tandem in a later article. Depth of Field Now that you have a basic understanding of how to adjust your aperture to set the foundation for the exposure of your image, you will also need to consider the depth of field that you want reflected in your image. The effect that I’m referring to is that tasteful blurry background distortion you may have probably seen before in photos. This effect is commonly referred to as bokeh – a Japanese term that translates to “blur” and is used to describe the distorted effect a lens produces on parts of an image that are out of focus. This is easily achieved by taking a photo of a subject positioned a reasonable amount of distance from the background with the aperture wide open, which as you remember indicates that the f/number you are using is smaller. Your distance from the subject also factors into the effect the lens produces but in general a wider aperture (lower f/number) results in a shallower depth of field (higher background separation and blur), and a smaller aperture (higher f/number) results in a thinner depth of field (background more discernable) – this logic makes a little more sense in the context of depth of field right? Producing optimal sharpness and finding the sweet spot of your lens This is more advanced photography advice but still important to mention in the context of aperture. Many photographers purchase a lens for its optimal aperture performance (widest f/number, commonly 2.8 and below) but do not take the time to locate the “sweet spot” of the lens at which it produces the sharpest image. This is shocking to me as we are willing to spend thousands of our hard earned money on glass but not willing or aware enough to maximize the output of those investments. Here, I have put together a series of images to show you the differences in sharpness using my widest aperture lens completely open from f/1.4 to stopped all the way down at its maximum aperture of f/16. Zoom into the nose, where the focus point was set. [PS I hope you see my Chicago Cubs hat in your dreams] Bonus Tip: Sun-stars Kudos if you made it this far. BONUS ROUND! Many people ask me how I achieve sun-stars in some of my images. This is a technique I began experimenting with that has become one of my favorite effects to shoot for in certain brightly lit settings to add that extra level of storytelling, emotion, and detail. The sun-star is a natural effect generated when you shoot a bright light source with a highly stopped-down aperture, generally f/14 and smaller. As you know, an aperture is traditionally constructed in an overlapping blade pattern, the purpose of shooting a bright light source to achieve a sun-star effect is to allow for residual light to actually slip through the aperture blades and hit the sensor. Practice this technique, and you can achieve some really cool images like the ones I’m proud of here: Each lens produces a different sun-star so experiment with different brands and manufacturers of camera glass to see what the results are! Please let me know what you would like to learn next! I have a growing list of topics in the pipeline and am on continual journey of learning more about the art of photography. I love sharing my work and progression with others on Instagram @wayfaring.professional and I want to hear your story, goals, and inspiration with photography. Till’ next time. Alex -Wayfaring Professional |
Categories
All
|























 RSS Feed