|
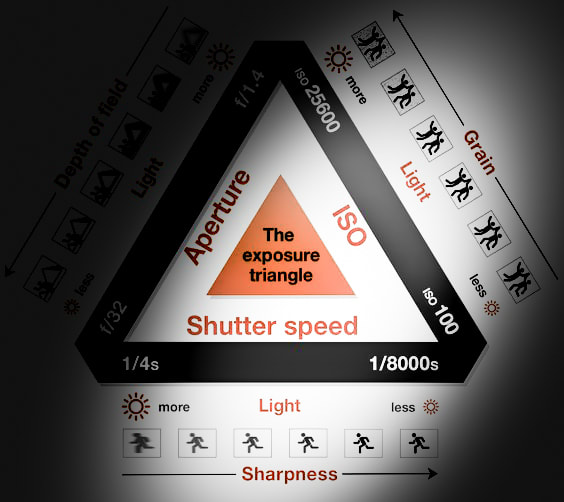
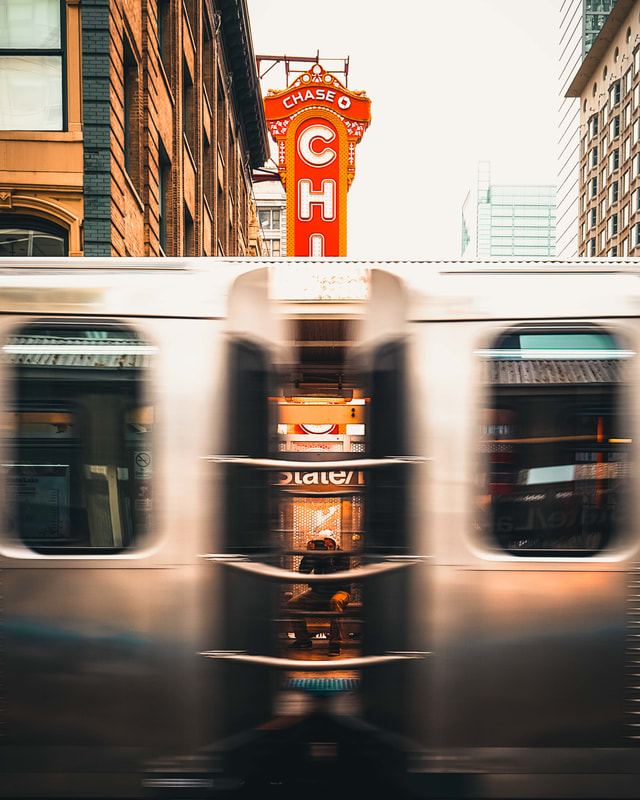
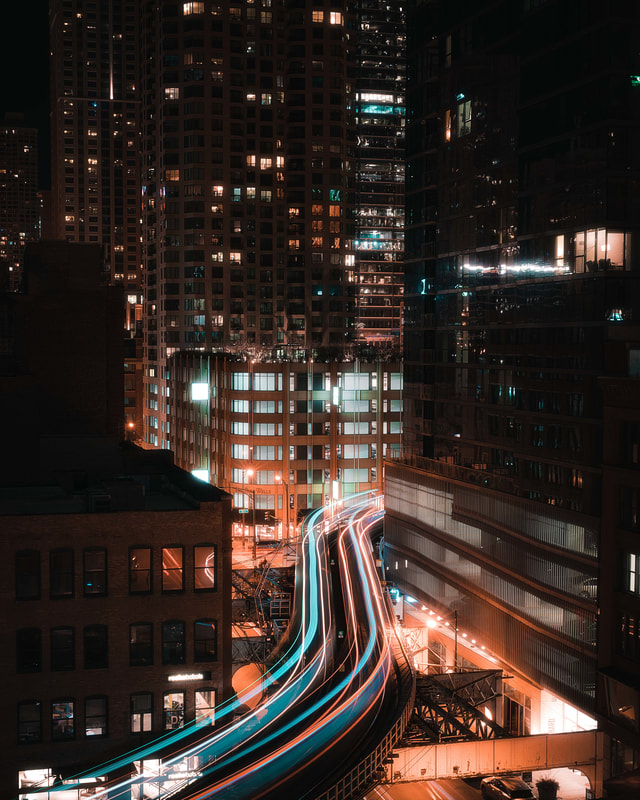
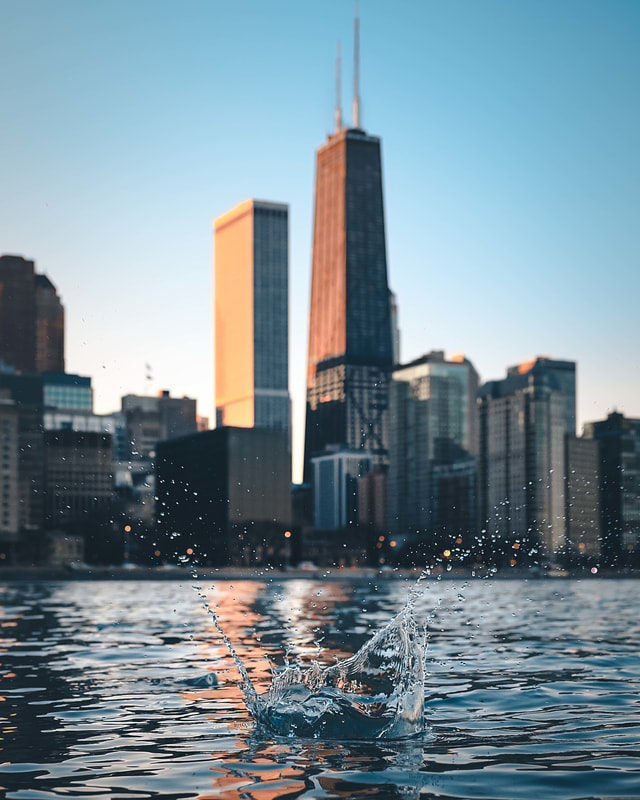
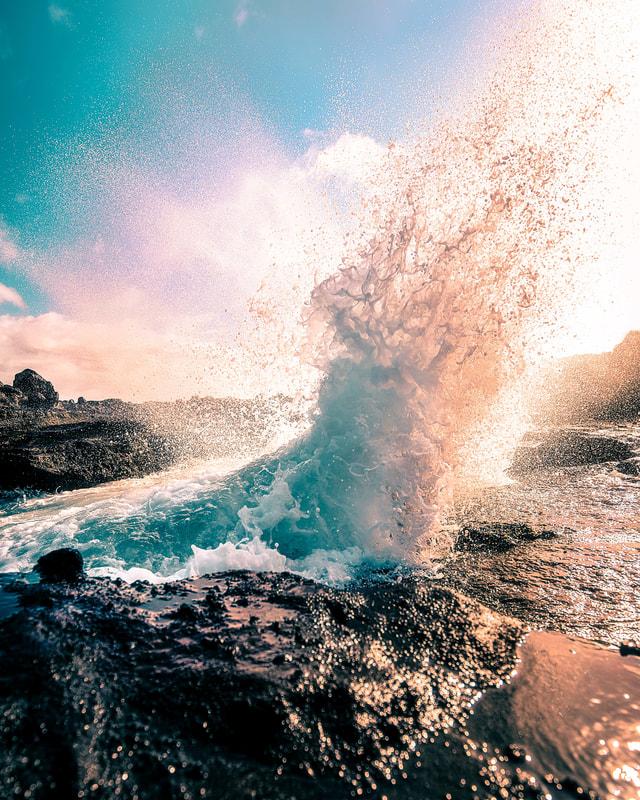
Read time: 8 minutes Assuming you read up on Part I of this article series, here is a quiz for you to tackle to test your knowledge of your camera’s Aperture settings. There is no prize for completion except for personal pride, as a matter of fact; there is no actual test... Let’s dive into the other two pillars of the exposure triangle, shutter speed and ISO. ISO and Exposure: ISO is the setting that controls your camera sensor’s sensitivity to light. Think of the sensor as a heat plate and as you increase the ISO the intensity of the light captured increases. When starting out with your camera, you generally want to take photos at the lowest ISO possible – a camera’s lowest sensitivity setting is typically at ISO 100 but some cameras can go down to ISO 50. I recommend using the lowest possible ISO due to the fact that the lower the ISO, the higher sharpness, dynamic range (range of light rendered in shadows and highlights), and the less noise (undesirable film grain effect) the image will display in an evenly exposed image - this doesn't necessarily hold true in harsh light or low light conditions which we will put aside for now. Alternatively, each step up in sensitivity (100, 200, 400, 800, etc) will incrementally degrade the image results. This being said, you are not solely locked into taking photos at ISO 100. Some scenarios will require more precise manual settings involving high ISO settings that we will briefly touch on. To provide an example of the effects that increasing the ISO on your camera has, I have put together a series of images shot at incrementally higher sensitivity: There are certain environmental settings that you may find yourself in which will force you to increase your ISO to maintain proper exposure. Art galleries, concerts, action sports, and other indoor events and poorly lit spaces in which a flash would be disruptive are good examples of when you can expect to have to shoot at a higher ISO to compensate. Having a tripod will give you more flexibility to maintain a lower ISO setting if your subject remains completely stationary or if you don’t mind having movement blur in your scene – these are important factors to think about since you can expect to have to lower your shutter speed significantly in order to let in the proper amount of light to compensate – this also comes with high risk of allowing certain elements in frame to “stretch” out. If you are taking photos of an event a tripod is basically out of the question as your client will likely be upset if it looks like you took pictures of a room full of ghosts – funny story, I learned my lesson the hard way when I shot one of my first events of an organization’s party, on a boat, at night, with a relatively slow f/4.0 lens...needless to say I’m glad I brought the flash along and improvised on the fly. Along those lines, action scenes which involve extremely quick motion (moving cars or sports) require a much higher shutter speed than normal in order to freeze the subject and will require you to increase the ISO in order to balance the insanely small amount of time the sensor will be exposed. For example, if you were to take an image with a 1/4000 shutter speed (shutter open for 1/4000th of a second) at ISO 100 your image would likely come out very dark and underexposed – if not completely black - even if your aperture is wide open. Let’s expand upon the final pillar of the exposure triangle, shutter speed. Shutter Speed and Exposure: Shutter speed is in my opinion the most fun fundamental to experiment with but also the camera function that leaves the most room for error. Shutter speed is basically the value that represents the length of time that the shutter is open - exposing light through the aperture in order to hit and be recorded by the sensor. A super slow shutter speed will allow you to create images where that this technique only makes possible while a super quick shutter speed will allow you to experience what your eye cannot realistically catch. Between these two extremes is a minefield of over and underexposed shots, blurry miscalculations, and those awkward images where you either started the timer too soon or too late or released the shutter at the wrong moment – the last point is less a factor of shutter speed than luck and practice but my hope is that you will develop the proper technique to put yourself in the best position to capture the right moment. Below are some live examples that were produced with slow shutter and long exposure techniques. As you can see in the first image, when you lower your shutter speed to a slower speed than the object you are trying to capture, the object becomes blurred and appears to be in motion. In the second example, the shutter speed was much much slower than the object causing the trains to completely disappear, leaving only the trails of light behind. As you practice, you'll begin to get a feel for what shutter speeds you can safely capture certain scenes accurately. Here are a couple examples of shots achieved using very fast shutter speeds. The same concept applies here just in reverse to slow shutter logic - if the shutter moves quicker than the object in motion, it will freeze whatever is moving slower. The focal length of your lens is also an important factor to consider when it comes to reducing camera shake. Unless your camera/lens features image stabilization/vibration reduction, you will want to generally maintain a shutter speed a bump higher than the length of your lens. For example, if you use a 50mm lens you will want to maintain a minimum of 1/60 while a 200mm telephoto lens will benefit from a 1/250 shutter speed at minimum. Additionally, you should start to think about shutter speed in terms of how it controls light. A move from 1/125 to 1/250 effectively means you are letting in half the amount of light - in order to compensate, you would either open the aperture or increase the ISO. This is where we begin to see how one move corresponds to making an adjustment to either of the other fundamental settings in order to properly capture an image. Bringing it all together: Hopefully this introductory Know Your Camera series was detailed enough to help you better understand the basic fundamentals of how to use your camera in manual mode. In future articles I plan on building on more advanced knowledge in order to get you thinking about how the three functions build off each other in special scenarios. Please let me know what you would like to learn next! I have a growing list of topics in the pipeline and am on continual journey of learning more about the art of photography. I love sharing my work and progression with others on Instagram @wayfaring.professional and I want to hear your story, goals, and inspiration with photography. Till’ next time. Alex -Wayfaring Professional |
Categories
All
|
 RSS Feed